> For the complete documentation index, see [llms.txt](https://acoservice.gitbook.io/acoservice-documentation/llms.txt). Markdown versions of documentation pages are available by appending `.md` to page URLs; this page is available as [Markdown](https://acoservice.gitbook.io/acoservice-documentation/for-members/forms.md).

# Forms

How drop forms work, how to fill one in, and how to find and edit what you already submitted.

A form is how your group collects the information it needs to check out on your behalf for one drop. An admin opens a form for a store, decides which fields it asks for, and members fill it in before the drop. Nothing is generic here — two forms in the same group can ask for completely different things, because the admin picks the fields per store.

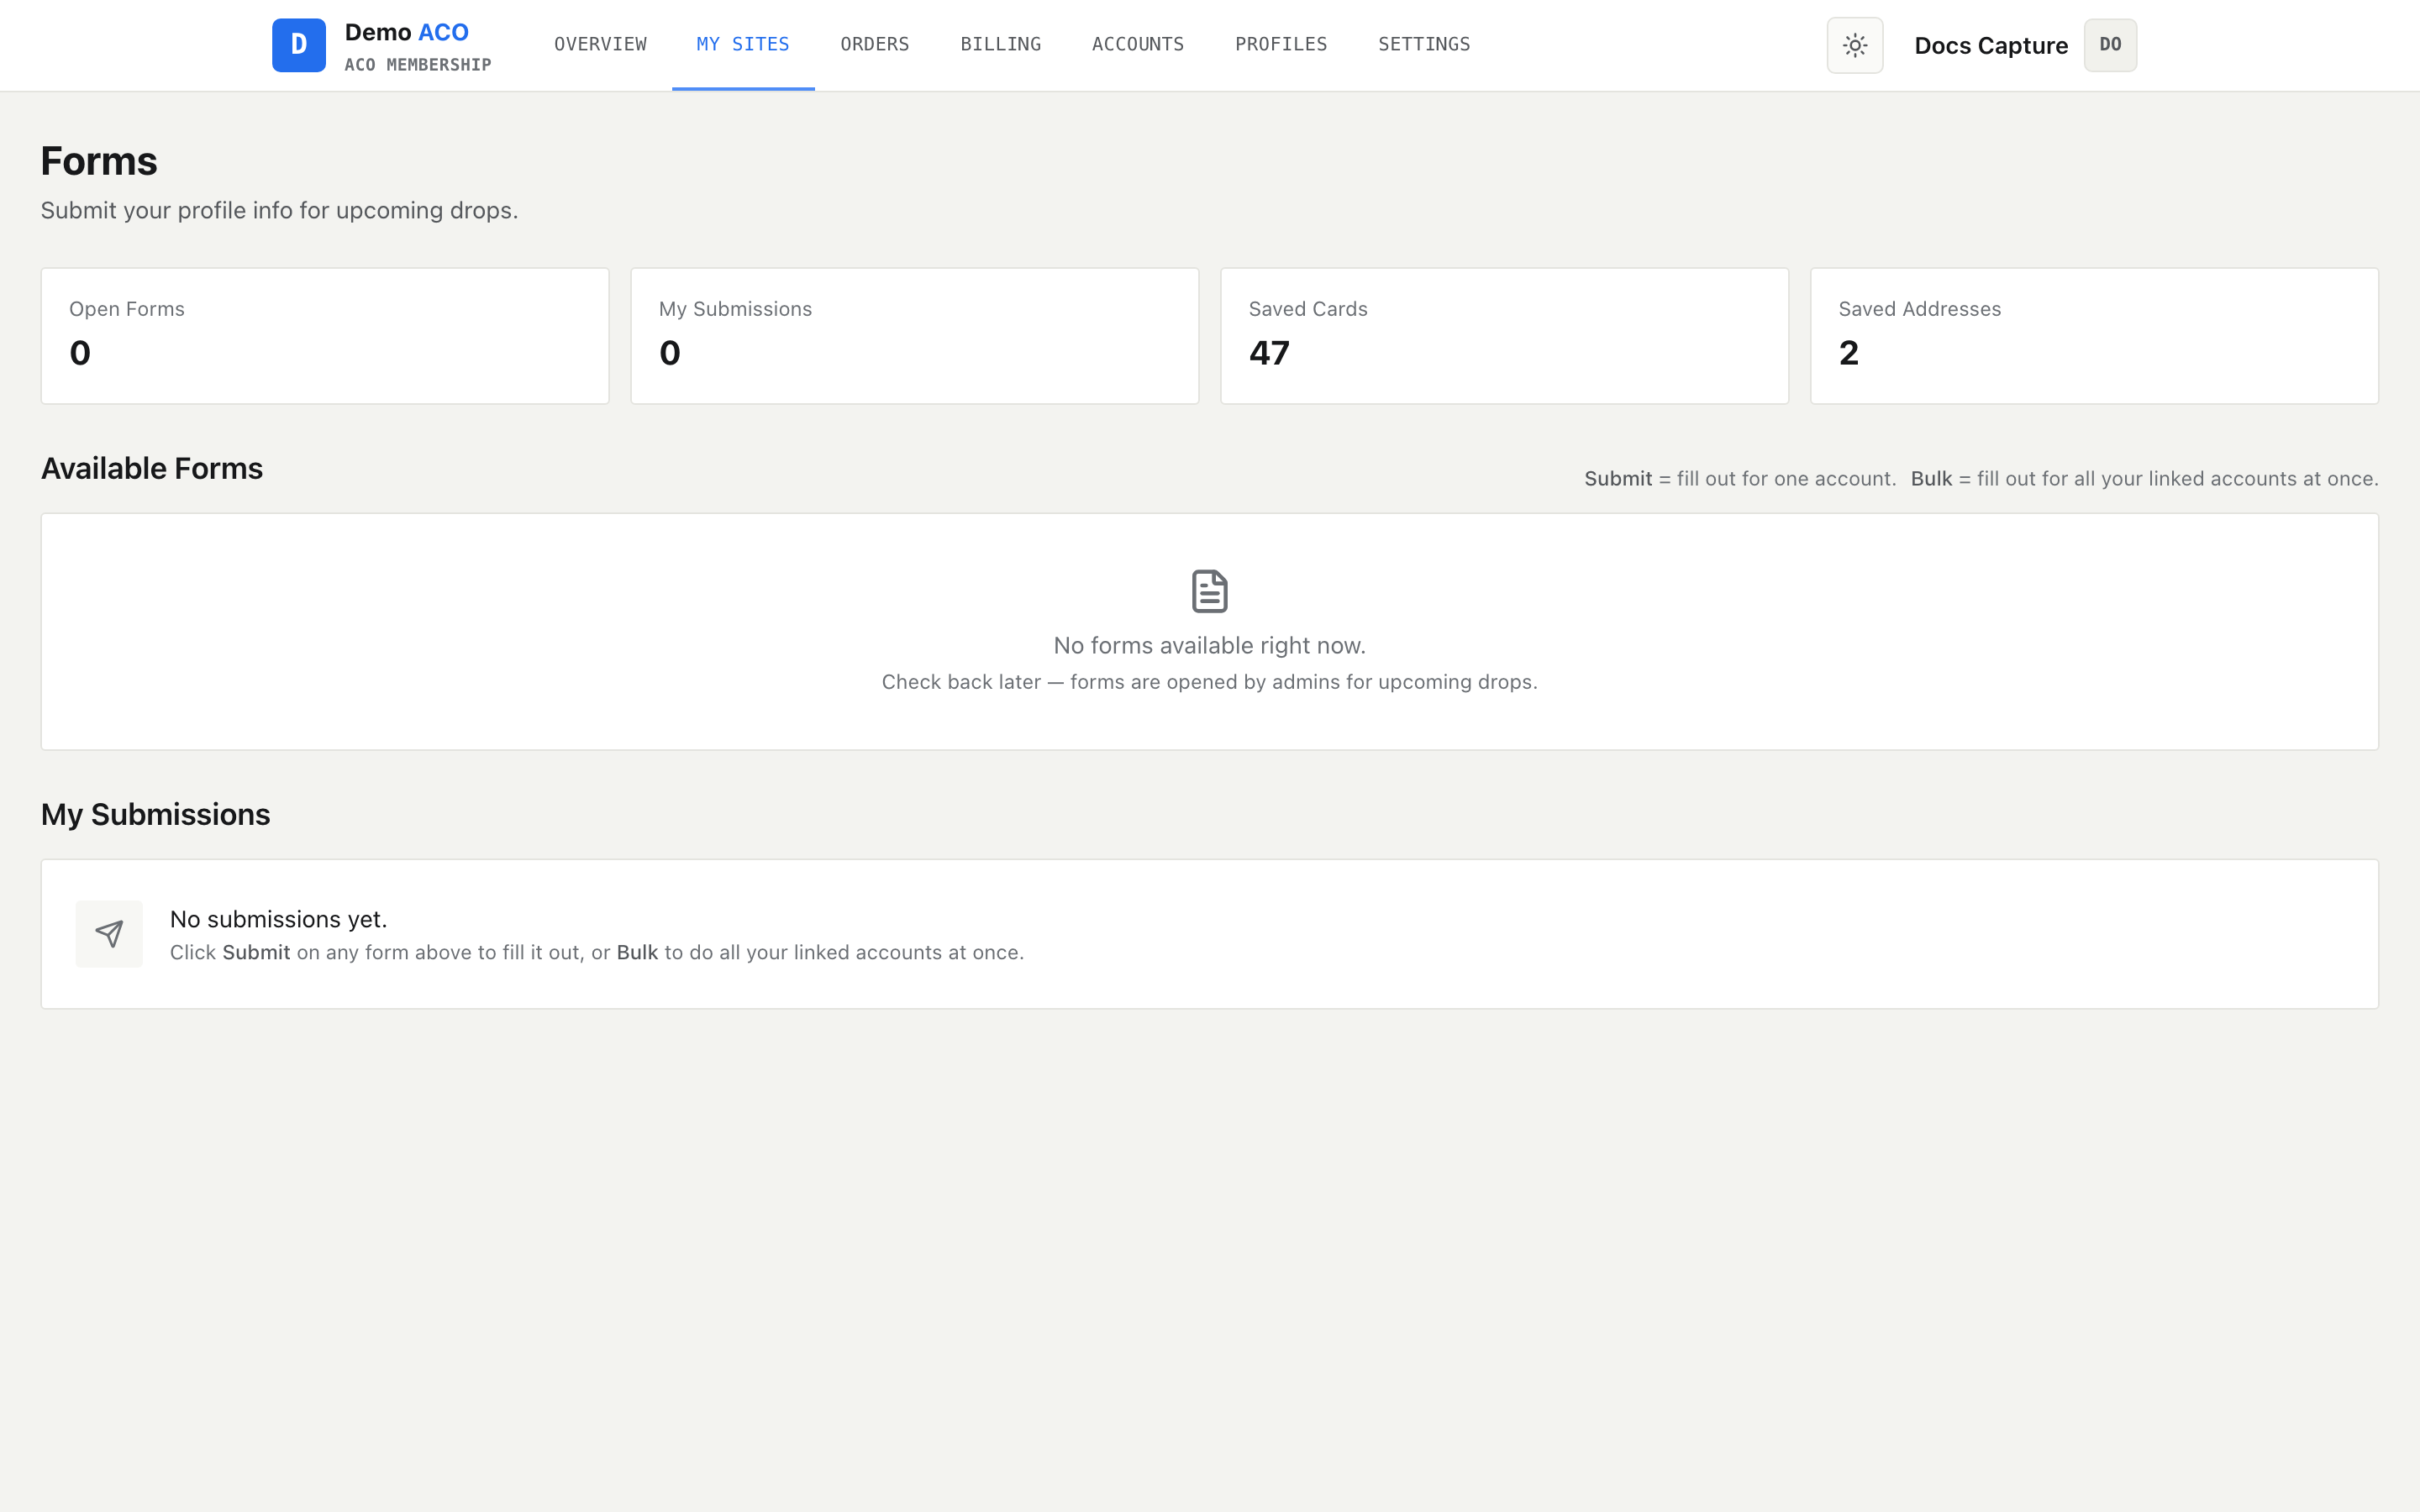
Forms live under **My sites** in the member navigation — that is the nav entry that opens them; the page itself is headed **Forms**. If no form has been opened yet you will see "No forms available right now" — forms appear only when an admin opens one.

<figure><img src="https://619092889-files.gitbook.io/~/files/v0/b/gitbook-x-prod.appspot.com/o/spaces%2FYF2YIy2qTYyy9j61lr0Y%2Fuploads%2Fgit-blob-f2f1017e15710733ab9d88c1643970c650bc8389%2Fforms.png?alt=media" alt="Forms page with four stat tiles, an empty Available Forms panel reading No forms available right now, and an empty My Submissions panel"><figcaption><p>The forms index: stats on top, the forms you can fill in in the middle, everything you have already submitted below. This capture is a group with no form open yet, so both lower panels show their empty state.</p></figcaption></figure>

## The forms index

Four tiles across the top count **Open Forms**, **My Submissions**, **Saved Cards** and **Saved Addresses**. The last two come from your [Profiles](/acoservice-documentation/for-members/profiles.md) page and matter more than they look — bulk submit is locked on any form that asks for a card or an address until you have one.

Each form appears as a card showing the store name, how many submissions you have already made for it, and a badge:

| Badge       | Meaning                                  |
| ----------- | ---------------------------------------- |
| `Open`      | You have not submitted for this form yet |
| `Submitted` | You have at least one submission for it  |

Every card has two buttons, and they do different jobs:

* **Submit** (or **Edit**, if you already have a submission) opens the full form for one account.
* **Bulk** opens a modal that submits the same form for every account linked to you at once.

**Bulk** is greyed out if the form asks for card fields and you have no saved card, or asks for an address and you have no saved address. Hover it and the tooltip tells you which one is missing.

## Filling in a form

The form only renders the sections the admin actually asked for, so a short form really is short. The possible sections are:

| Section          | Appears when the form asks for                   |
| ---------------- | ------------------------------------------------ |
| Account          | `account_login` (email + password) or `email`    |
| Item Quantity    | `quantity`                                       |
| Card Info        | any card field — name, number, expiry, type, CVV |
| IMAP Credentials | `imap`                                           |
| Billing Address  | `billing_address`                                |
| Shipping Address | `shipping_address`                               |

When the form asks for an address the page splits into two columns: account, quantity, card and IMAP on the left; addresses on the right.

### Account

If the group has assigned you accounts for this store, you get two tabs — **Enter Manually** and **Use Provided**.

**Use Provided** opens a dropdown of your accounts, each tagged with its status (`inactive` / `active`) and where it came from (`Admin` / `Self`). By default the list shows only accounts that have *not* been used for a submission yet. Tick **Include active accounts (already used for a submission)** to see the rest. Picking an account that already has a submission for this store shows a warning: submitting again creates a second entry, it does not replace the first.

**Enter Manually** gives you an email and password field (or just an email, if that is all the form asks for).

### Item Quantity

A plain number field. If the admin set a maximum, a **Use Max (N)** button appears next to the heading, the limit is printed under the field, and typing a larger number is clamped back down to it.

### Card Info

With saved cards you get **Enter Manually** / **Use Saved** tabs; the saved list shows the detected card type, the last four digits and your label.

Entered manually, the card number is formatted as you type, the type is detected from the number and filled into the read-only **Type** box, and the number is checked before you submit — a bad number gives "Invalid card number", a short one gives "Card number too short". CVV expects three digits, or four on Amex.

### IMAP credentials

Some forms need to read the retailer's confirmation email, which means an IMAP login. Pick your provider (Gmail, Yahoo, Outlook / Hotmail, iCloud, AOL, or Custom — Custom exposes the server and port fields), then enter the mailbox address and an **app password**. The collapsible "How do I get my IMAP credentials?" panel lists the exact steps per provider; nearly all of them need two-factor authentication turned on first, and the port is always 993.

{% hint style="warning" %}
**You cannot submit until the IMAP test passes.** Press **Test Connection**; the button turns into **Verified** on success and prints the error inline on failure. Until then the submit button stays disabled. The usual cause of failure is using your normal password instead of a generated app password.
{% endhint %}

This section is skipped entirely when you are using a provided account — the group already holds that mailbox's credentials.

### Addresses

Both address sections offer **Enter Manually** / **Use Saved** when you have saved addresses. Manual entry is first name, last name, street, apt/unit (optional), city, state and zip.

When the form asks for both addresses, the shipping section carries a **Same as Billing** checkbox. Ticking it replaces the shipping fields with "Using billing address for shipping."

### Submitting

The button at the bottom reads **Submit Profile** (or **Save Changes** when you are editing). It stays disabled while any field is showing a validation error, and while an IMAP section is unverified. On success you get a confirmation screen with **Submit Another** (or **Back to Submissions** after an edit) and a **Back to Forms** link.

Submitting a form also grants you access to that store on your [Sites](/acoservice-documentation/for-members/sites.md) list, so a store you have filled a form for shows up there afterwards.

## Bulk submit

**Bulk** fills the same form once per account, without you typing anything. The modal walks four numbered steps — steps 2 and 3 are hidden when there is nothing to choose (no accounts linked to you for that store, no saved addresses).

1. **Add data (optional)** — a drop zone for AYCD profile exports. Drop one or more JSON files (or click to browse) and the cards and addresses inside are saved to your profile and become available immediately. Cards already saved are skipped, and you get a count of what was imported.
2. **Accounts** — every account linked to you for this store, all ticked by default, with **Select all** and **Clear** shortcuts. Untick the ones you do not want.
3. **Shipping** — either **Auto-pair per account** (match each account's email to a saved address with the same email, then fall back to pairing whatever is left in order) or **Send everything to one address**, which reveals a **Ship to** dropdown and overrides every pairing.
4. **Preview** — a numbered table of exactly what will be submitted: account, address, card. Anything unmatched is flagged `missing` in amber, and a warning appears under the table if the form actually needs that field.

The button then reads **Submit N forms**. A progress bar counts through them and reports successes and failures separately; submissions run one at a time, so a large batch takes a moment.

{% hint style="warning" %}
**Bulk always submits quantity 1, and always ships to the billing address.** If the drop allows more than one item per account, or you need billing and shipping to differ, submit those forms individually instead.
{% endhint %}

## My submissions

Everything you have submitted appears at the bottom of the forms index, one card per submission, showing the store, the email used, the last four digits of the card and the date. Click any card to reopen the form with the values filled in.

Editing is a true edit — it updates that submission rather than adding another. Your original submission date is kept. IMAP is treated as already verified, so you are not asked to re-test a connection that passed the first time.

Card numbers, CVVs, account logins, IMAP passwords and address lines are encrypted before they are stored, and the submissions list shows you only the last four digits of a card.

Related: [Profiles](/acoservice-documentation/for-members/profiles.md) for saving cards and addresses once, [Accounts](/acoservice-documentation/for-members/accounts.md) for the accounts a form can draw on.


---

# Agent Instructions
This documentation is published with GitBook. GitBook is the documentation platform designed so that both humans and AI agents can read, navigate, and reason over technical content effectively. Learn more at gitbook.com.

## Querying This Documentation
If you need additional information that is not directly available in this page, you can query the documentation dynamically by asking a question.

Perform an HTTP GET request on the current page URL with the `ask` query parameter, and the optional `goal` query parameter:

```
GET https://acoservice.gitbook.io/acoservice-documentation/for-members/forms.md?ask=<question>&goal=<endgoal>
```

`ask` is the immediate question: it should be specific, self-contained, and written in natural language.
`goal` is optional and describes the broader end goal you are ultimately trying to accomplish on behalf of the user. GitBook uses it to tailor the answer towards what is most useful for that goal.

The response will contain a direct answer to the question and relevant excerpts and sources from the documentation.

Use this mechanism when the answer is not explicitly present in the current page, you need clarification or additional context, or you want to retrieve related documentation sections.
